Anúncios
Surface choice shapes every mark you make. The roughness, often called tooth, decides how graphite and other media catch and hold. This simple fact affects values, layers, and the fine details artists seek.
Historic brands like Canson (since 1557), Arches (1492), Fabriano (13th century), Clairefontaine (1858), and Strathmore (1892) set standards for quality. Choosing the right sheet means weighing weight, surface pattern, and whether the back feels different from the top side.
Control of pressure, a sharp tip, and careful layering let you turn a modest surface into a rich study in values. For practical blending tips that match your surface choice, see blending techniques for smooth tonal gradients.
Understanding Paper Surface Grain and Its Effect on Texture Rendering in Pencil Work
The roughness of a sheet decides how well your graphite sticks and how detailed your marks become.
Surface tooth tells you how much of your mark the sheet will grab. A bit of roughness helps layers hold and can boost the final quality of a study.
Anúncios
By changing your pressure you control how much graphite fills the surface pattern. Lighter pressure leaves highlights; firmer strokes sink more tone into the grain.
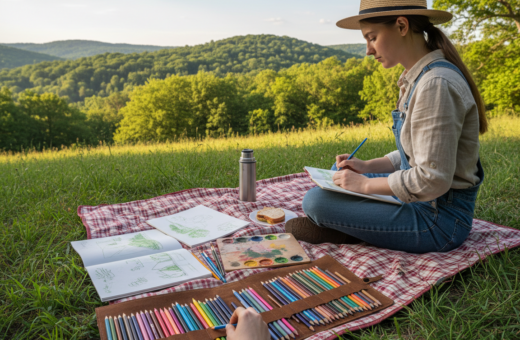
Practice on different sheets to see how media behave. Each example helps you learn to render fur, grass, or wood with convincing details.
- Definition: Texture refers to the visual look and feel of an object’s surface in two-dimensional art.
- Interaction: A distinct grain makes the tooth interact with your pencils and lines.
- Control: Consistent lines and steady pressure keep the effect uniform across a study.
- Layers: Quality of the sheet affects how many passes you can make before saturation.
- Practice: Try small tests to match color, media, and pattern to your subject.
How Paper Grain Pencil Drawing Texture Influences Your Art
The way a sheet catches graphite can make or break the illusion of realism.
Anúncios
The Role of Tooth in Graphite Grabbing
Tooth controls how much pigment your tool leaves behind. A rougher surface snags more particles and holds multiple layers. That helps when you need rich darks or subtle midtones.
High-quality paper with the right tooth lets you build complex effects like fur, bark, or worn wood. The surface pattern interacts with pencils and creates a repeatable look that becomes part of your style.
Visualizing Texture in Two-Dimensional Art
Texture is a core element of art. In two-dimensional work, perceived surface quality tells the viewer whether a mark reads as cloth, skin, or stone.
- It affects how graphite particles settle and how details appear.
- Observing natural rhythm helps translate complex patterns onto the sheet.
- Smart use of surface and pressure directs attention in your composition.
Selecting the Right Paper for Your Drawing Style
Match your surface to your approach and the results will show in control, layers, and how details hold up under close view.
Comparing Smooth Bristol and Mixed Media Surfaces
Bristol paper (like Canson XL Bristol) is ultra-smooth and very white. It rewards a gentle hand and is ideal for photorealistic work.
By contrast, canson mixed media and similar mixed media paper give a bit more tooth. They accept ink and markers alongside pencils and colored media, making them versatile for layered work.
Benefits of Toned Options for Realism
Strathmore toned paper, such as Toned Tan or Toned Gray, speeds up value shifts. Midtones are already present, so white highlights pop without heavy buildup.
Using toned paper reduces saturation and helps you place lights and darks faster. For a deeper look at how surface affects control and shading, see drawing paper types explained.
Evaluating Weight and Overall Quality
Choose media that handle your media list. Strathmore Mixed Media 400 series holds up to wet and dry layers well.
Tip: Aim for 180 grams (or higher) when you want a sheet that won’t buckle under multiple passes.
- Canson 1557: smooth surface, great for quick sketches and refined work.
- Clairefontaine Recycle: faint marks that are barely noticeable and budget friendly.
- Bristol paper: very smooth, best for delicate lines and tight details.
Techniques for Enhancing Texture with Colored Pencils
Layered color and careful strokes turn simple marks into convincing surface details. Start with a light base layer to map the main values and overall color. Keep pressure low so you can add more passes without saturating the paper.
Use quality brands—Faber-Castell Polychromos works well for wood patterns and subtle blends. A good sharpener is essential; an extra-sharp tip lets you place tiny marks and fine details cleanly.
Vary strokes and direction so marks follow the planes of the subject. That reinforces volume while suggesting pattern and rhythm in the surface.
- Build depth with multiple thin layers to avoid wax bloom and retain values.
- Try three different brands of colored pencils to see how each meets the tooth of your sheet.
- Use stippling and short lines at varied pressure to mimic natural textures and hollows.
- Reserve a sharp tip for tiny highlights and crisp lines that define relief.
Tip: Mark gaps and hollows with a darker colored pencil before blending. This reveals rhythm and makes the final work read as realistic surface detail.
Practical Tips for Managing Surface Tooth and Pressure
A steady hand and small shifts in pressure help you match values and preserve surface detail.
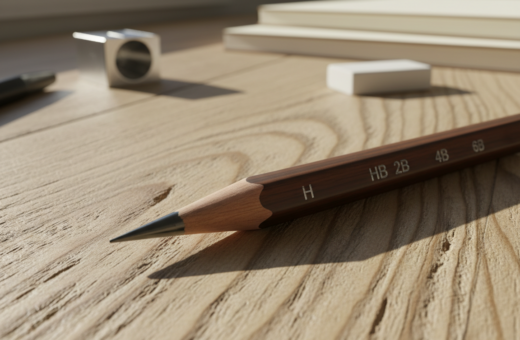
Start light and build slowly. This keeps layers workable and prevents early saturation. Use a soft grade for broad tones and harder graphite pencils for crisp lines.
Adjusting Pencil Pressure for Layering and Detail
Manage pressure so each pass adds a bit more depth. Consistent, gentle strokes keep the pattern even and make color blends smoother when you use colored pencils.
When the sheet has a pronounced back, try that side for very fine details. It often feels smoother and accepts a sharp tip better.
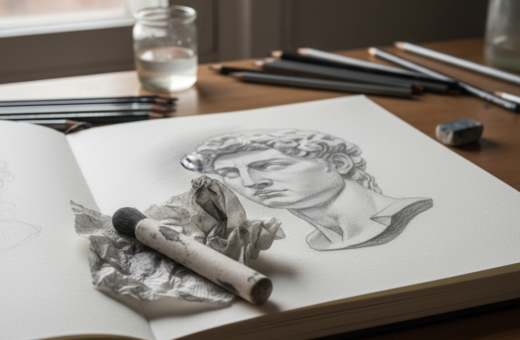
“A kneaded eraser softens marks without harming the quality of the paper surface.”
- Balance pressure: light layers, then increase pressure for darker values.
- Follow planes: align stroke direction with the object’s form to sell perspective.
- Keep tips sharp: small cracks and hollows need a fine point for clear details.
- Practice with brands: test different media to see how each meets the tooth.
Conclusion
Concluding tip: End your study with simple tests that reveal how different surfaces respond to pressure and color layering.
Selecting the right paper types and brands improves realism fast. Try a few pads and note how each holds layers. One careful example on a new sheet often teaches more than hours of guessing.
Whether you work in graphite or with colored pencils, steady practice on varied surfaces refines skill. Test the back of the sheet, try different pencils, and compare how colors sit. Small tests build a visual library for future art and drawings.
Keep experimenting: explore new textures and colors, and let each study inform the next. You might want to switch pads often until you find the surface that fits your style.