Anúncios
This guide shows how to use a photo as visual data while keeping your work original. You will learn practical steps to improve accuracy without making a 1:1 replica. The goal is clear: use a picture as input and make deliberate artistic choices in mark-making and design.
The article walks through choosing better images, using live study when possible, creating your own photo sources, and blending multiple inputs to build unique work.
Expect methods for both traditional and digital workflows, such as grids, tonal studies, and gesture sketches. We also cover common risks: flattened, photo-like results, dependence on a single image, and accidental copying — and how each later section fixes them.
Read on to shift your mindset: treat every photo or photograph as editable information, not a template to trace. This approach helps artists gain skill while protecting originality and creative voice.
Why Artists Use References (and Why It’s Not “Cheating”)
Artists use visual sources to solve problems—accuracy, lighting, and believable poses—without surrendering their creative voice.
Anúncios
Treat photographs as raw visual information. They supply facts about proportion, value, and pose that memory often misses. The goal is to study and edit that data, not to trace a photo exactly.
References also fill gaps when direct observation is impossible. Fast action, rare animals, or historical scenes need photos so an artist can work honestly and accurately.
Practical notes
- Use a reference to learn proportions, lighting, and small details that build skills.
- Study, translate, and adapt—don’t replicate. That difference changes the ethics and the outcome.
- Many pros use staged photos; Norman Rockwell hired models and collaged shots to craft original compositions.
- Be honest: credit a photographer, stock source, or model and explain which parts—pose, light, or setting—guided you.
Bridge imagination and real sight: a thoughtfully used image boosts originality by grounding choices in real visual data.
Anúncios
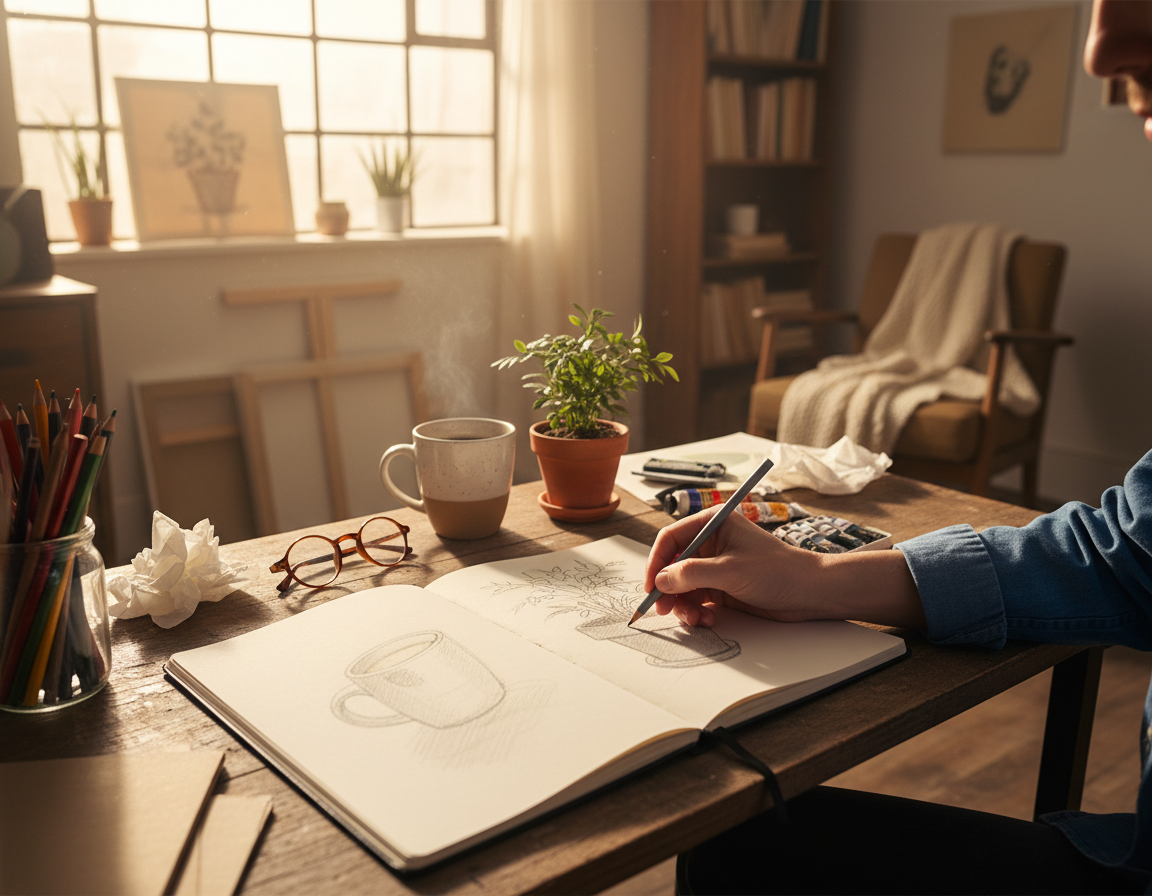
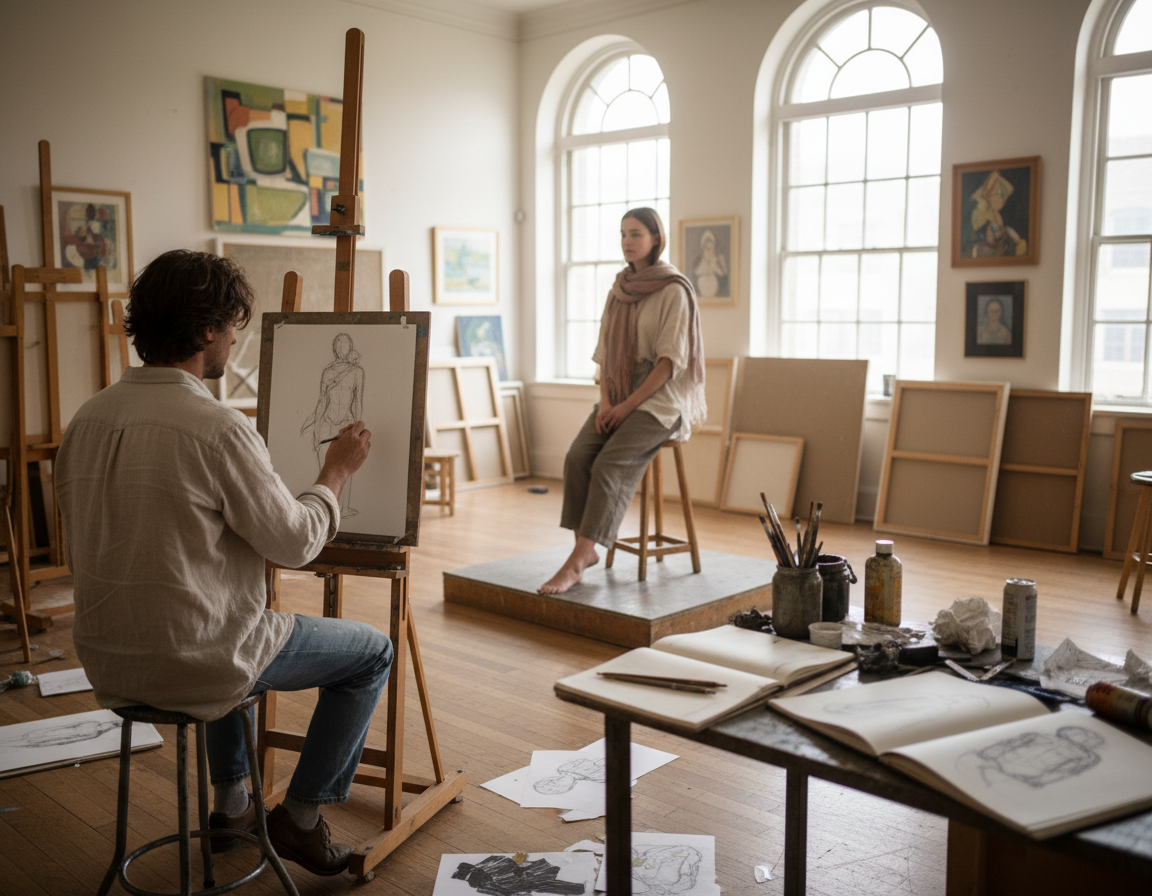
Draw From Life First When You Can
Whenever you can, sketch live subjects to build stronger sight skills and richer judgments. Working with a real object or model gives a tactile experience you can’t get in a flat image.
Why direct observation builds fundamentals faster
Studying the real thing reveals depth, edge shifts, and subtle value changes that photos often compress. Active observation forces you to measure, simplify, and decide rather than copy.
Simple swaps to practice now
- Set up a quick still life with kitchen items and a desk lamp for controllable light.
- Use a mirror for self-portraits so you can change pose and angle easily.
- Buy one simple prop—a fruit or cup—and sketch it over several sessions.
Mini practice plan: spend 10–20 minutes a day on quick studies. Over months and years this habit builds a visual library. That way you’ll later use reference photos more selectively and creatively, not copy them verbatim.
Choosing Better Reference Photos and Reference Images
Good source images make study faster and more accurate. Aim for clear files that show the subject at usable resolution, so proportions and texture are easy to read.
Clarity, resolution, and readable lighting
Readable lighting means a visible light direction, coherent cast shadows, and separable planes of value. That clarity helps you judge form and plan marks.
Watch for camera traps
- Wide-angle distortion or odd foreshortening that skews proportions.
- Harsh flash or blown highlights that hide mid-tones and texture.
- Wrong white balance that shifts color and misleads tonal choices.
Match the image to your goal
Use one photograph for pose, another for values, and a third for fine details like fabric or skin texture. Working with multiple images reduces dependence on a single photo and makes the final work more original.
Quick checklist and organization
- High resolution, sharp focus on the subject.
- Clear light and shadow separation; minimal motion blur.
- Store images in folders by pose, lighting, and textures.
For practical tips on capturing better source material, see this guide to taking better reference photos.
Make Your Own Photo Reference for More Control
When you make your own source photos, you shape the scene to serve composition, mood, and useful details.

Shooting your own material is the smart middle ground between live study and random online images. You get control over viewpoint, zoom, and usable content so the final work can be edited without being locked to one angle.
Photograph the subject at multiple angles and distances
- Wide shots — overall staging and negative space.
- Mid shots — proportions and limb placement.
- Close-ups — hands, wrinkles, fabric folds, and small textures.
Plan the shoot like an artist
Choose a single dominant light source and a simplified background. Pick wardrobe that reads as clear values. Direct poses with small variations so gestures feel natural.
Professional alternatives pros use
Maquettes, sculptures, and 3D models let professional artists control pose and lighting without a live model. James Gurney builds maquettes to study form. Andrew Raftery creates 3D interiors to test spatial lighting.
“Good photos are tools, not crutches; capture what you need to redesign the scene later.”
| Shot Type | Purpose | Key details |
|---|---|---|
| Wide | Composition, scale | Placement, background, overall mood |
| Mid | Proportions, pose | Foreshortening, limb relationships |
| Close-up | Texture and small details | Hands, fabric, skin creases |
Keep the goal practical: you are gathering usable content, not perfect studio shots. Good photo references let you redesign and improve the final piece with greater confidence.
Drawing From Reference Without Copying Exactly
Start by blocking in the biggest shapes and value masses. Build the piece from large to small so the work becomes constructed, not traced.
Start with observation: identify the big shapes before the details
Read the photo as mass and rhythm first. Squint, simplify, and mark two or three major value planes. That gives a scaffold to edit later.
Edit the scene on purpose: remove distractions and redesign the composition
Act like an art director. Remove clutter, simplify backgrounds, and push the focal point with contrast or negative space.
Combine references creatively: proportions from one, lighting from another, action from a third
Assign each image a job. Mix proportions, lighting, and texture so no single photo controls the final piece.
Change what matters and translate instead of replicate
Push gesture, exaggerate expression, and redesign edges and marks to suit your medium. Strong artwork often outperforms the original photos by adding energy and intent.
“Good source images are raw information; editing them is where the art begins.”
| Step | Purpose | Action |
|---|---|---|
| Block shapes | Structure | Map major values and silhouette |
| Edit scene | Clarity | Remove clutter; boost focal contrast |
| Combine images | Originality | Assign pose, light, and texture roles |
| Translate marks | Expression | Vary edges and invent texture for medium |
Tools and Techniques to Keep Proportions Accurate
Begin by securing major landmarks so proportion errors never cascade later. Accurate proportions free you to stylize with confidence. Use simple tools that map scale before you add fine marks.
The grid method for mapping complex subjects
The grid method helps map complex subjects like portraits, architecture, or multi-figure scenes. Match aspect ratios, draw light guide lines, and place key landmarks rather than tracing every contour.
Comparative measurement and angle checking
Measure relationships: width versus height, negative spaces, and tilt angles. Hold a pencil at arm’s length to compare distances and check angles. These checks work in life sessions and with a photo or image on screen.
Tonal studies to read values, shadows, and lighting
Make small value sketches to focus on light and shadow relationships instead of outlines. Tonal studies boost your understanding of form and simplify complex details. Repeating quick tonal sketches under varied lighting is excellent practice.
| Tool | Use | Tip |
|---|---|---|
| Grid method | Scale and placement | Light lines; use squares to mark landmarks |
| Comparative measurement | Accuracy checks | Compare ratios and negative shapes |
| Tonal studies | Values and lighting | Do many small sketches, limit time |
Common Ways Artists Accidentally Copy (and How to Break the Habit)
Photos often tempt artists to copy contours and detail instead of interpreting motion and mood. That habit flattens work and makes pieces feel posed and static.
Why photos can make work look flat—and how to add life back
Single-lens viewpoints compress depth and wash edges. Camera blur or harsh flash adds artifacts that can sneak into your marks.
Fix: exaggerate gesture, redesign rhythm lines, and vary edge quality so the piece reads as deliberate art, not a carbon copy.
Build independence with steady practice
Reduce photo dependency by training observation and memory. Repeat hands, faces, and fabric in short sessions so your visual library grows.
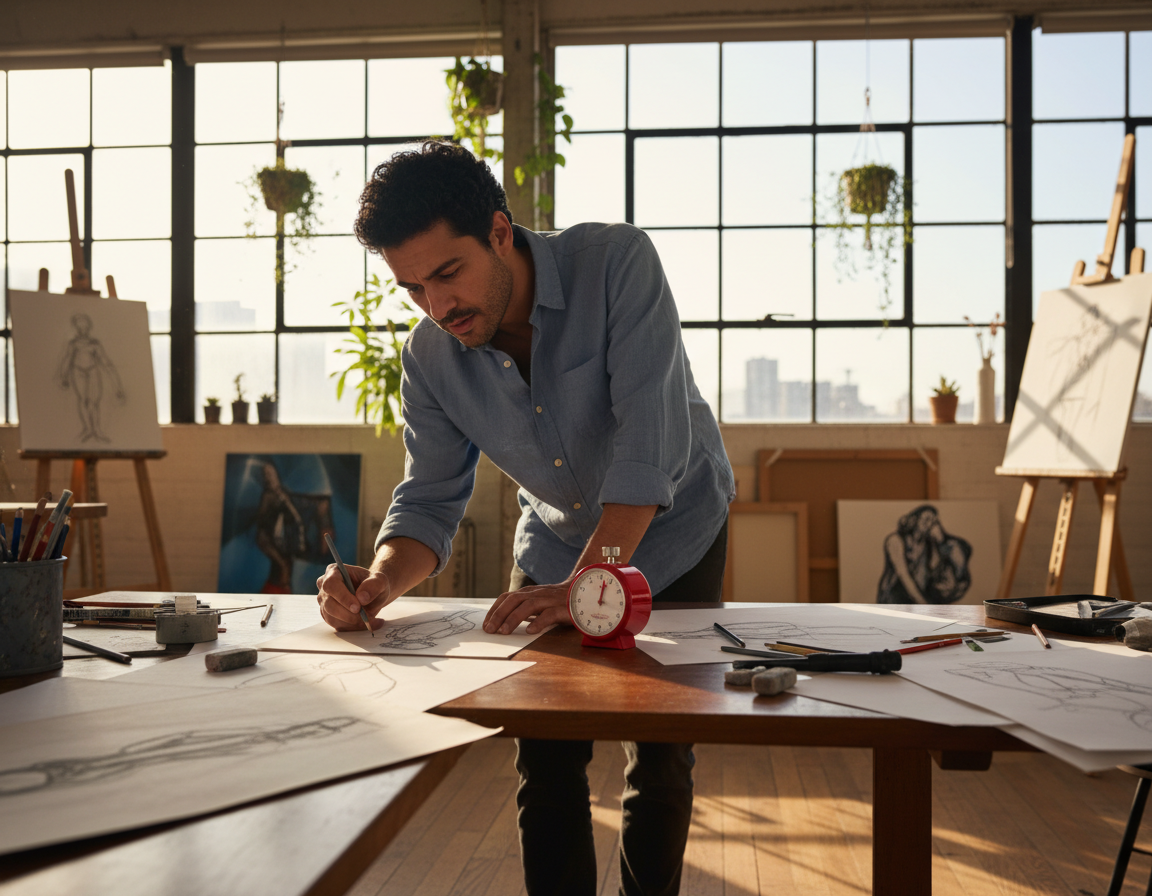
Use time limits to shift focus
Set strict timers: quick gestures force priority on movement over detail. This rewires habit and boosts drawing imagination.
| Exercise | Goal | Duration |
|---|---|---|
| Gesture sketches | Capture motion | 30–90 seconds |
| Short poses | Structure & value | 5 minutes |
| Limited-value study | Prioritize form | 15–30 minutes |
“Make the photo serve your intent; let skill and choice shape the final image.”
Conclusion
Finish each piece by making deliberate edits that turn visual data into original art.
Choose strong reference images, sketch in real life when you can, and treat photos as editable information—not a template.
Make sure your final artwork reflects your choices: edit composition, combine sources, and use purposeful mark-making so the work reads as your idea rather than a copied photo.
Be ethical. If a single photo strongly shaped the piece, credit the photographer or source. Honesty protects you and respects other artists.
Build a sustainable workflow: collect references with intent, shoot your own photos when able, and mix images to avoid reliance on one source. Learn tools and habits that serve long-term growth.
Next steps: do one life study, one photo-based tonal study, and one combined-source piece to apply this method.
Over years of steady practice, these habits will make your artwork more confident, original, and expressive. For more practical tips, see this reference images guide.